Gamepass is a set of tools that allow developers to monetize games created gamepass on Roblox. For example, in order to get the best weapons, equipment or super powers, users will have to buy it for the game currency, called Robux. Thus, players who donate get the best things in the game, and developers earn money by creating games.
One of the features that makes Roblox unique is the ability to create and sell passes. Gamepasses are special items that players purchase to gain access to closed game features. In this article, we will show you the process of creating a gamepass in Roblox.
How to Make a Gamepass on Roblox?
Step 1: Access Roblox Studio: To create a game pass in Roblox, you need to install Roblox Studio. Roblox Studio is a powerful tool that allows you to generate your own game worlds and stories. To access Roblox Studio, open the Roblox website and click the Create button. This will take you to the Roblox Studio page where you can begin creating your game pass.
Step 2: Create a Game: Before you can create a game pass, you need to generate a game to attach it to. To do this, you can use the tutorials and guides available on the Roblox website.
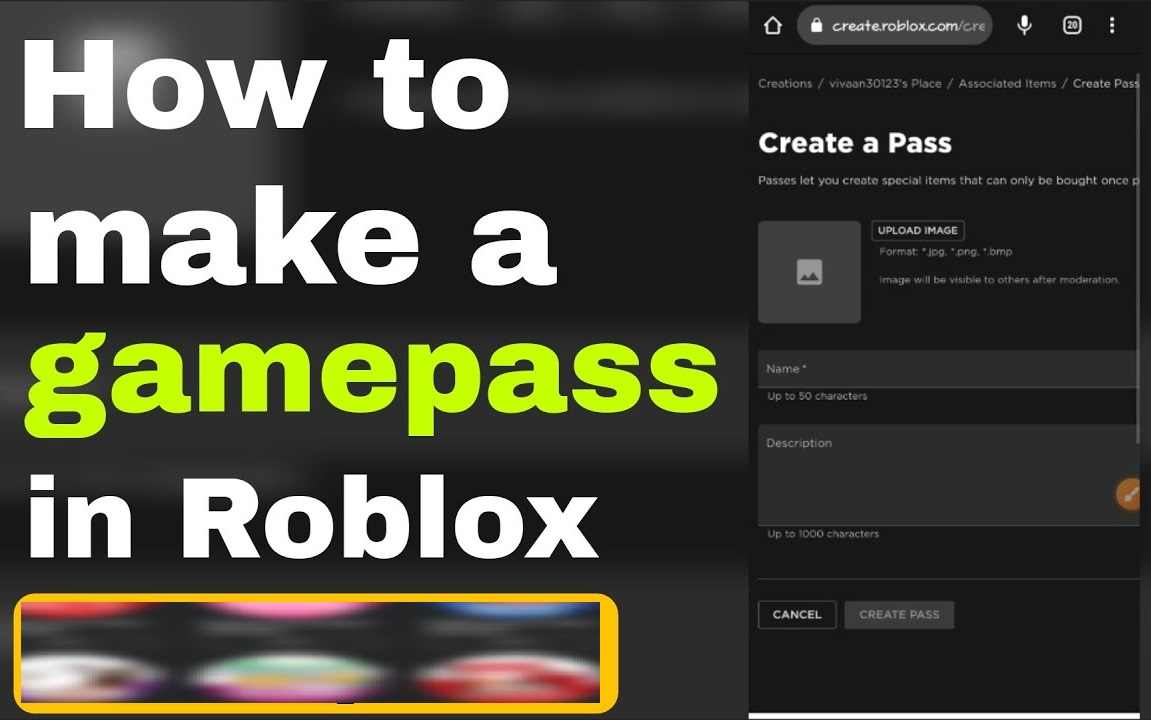
Step 3: Open the Game Pass Creation Menu: To create a game pass, go to the Game Settings tab in Roblox Studio. There, you will find a menu called Game Passes. Click the Create button in the Game Passes menu to generate a new pass.
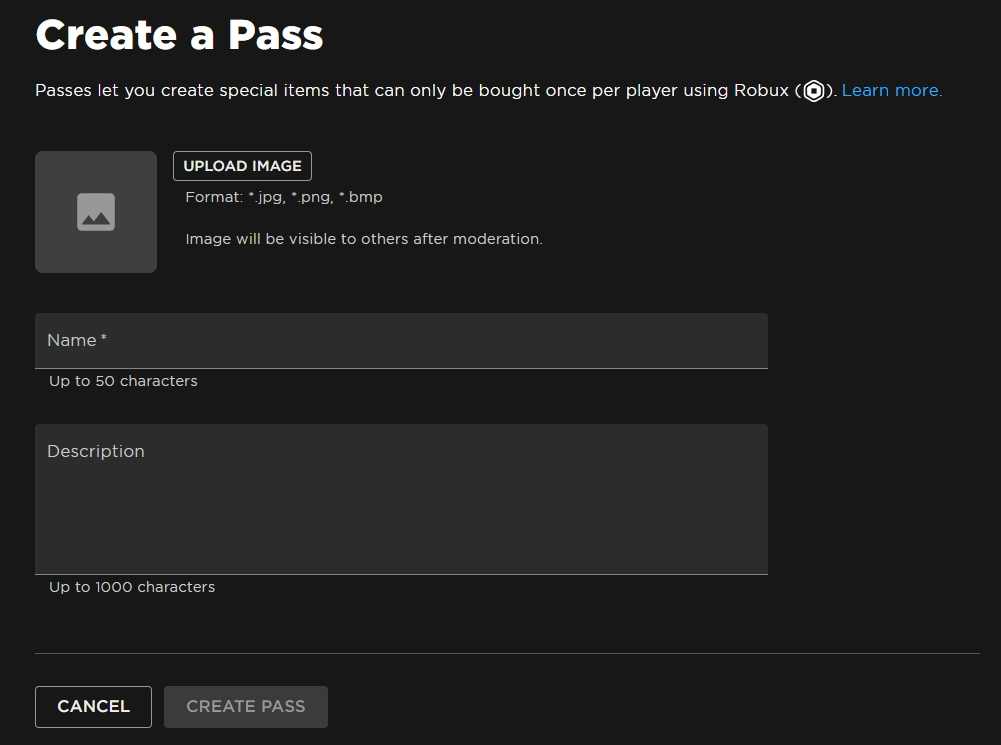
Step 4: Set up Your Game Pass: In the Game Pass creation menu, you can customize various aspects of your Game Pass, such as giving your Game Pass a name, description, and image. The title and description should clearly explain what the game pass offers to players. The image should be visually appealing and reflect the content or features of the game pass.
Step 5: Set the Price: Next, you need to set a price for your game pass. The price should reflect the value of the content or features the game pass offers.
Keep in mind that players will need to purchase Robux, the virtual currency in Roblox, to purchase a game pass. It’s important to find a balance between making your game pass affordable and providing enough value to players.
Step 6: Add the Game Pass to Your Game: Once you have set up your pass, you will need to add it to yourself.
To do this, go to the Explorer tab in Roblox Studio and locate the ServerScriptService folder. Right-click on the ServerScriptService folder and select Paste Object.
In the Insert Object window, select GamepassService and click Insert. This will add a new script to your game.
Step 7. Write a Gamepass Script: To make your Game Pass work, you need to write a script that will handle the purchase and activation of the Game Pass. Open the script by double-clicking on it in the Explorer tab.
In your scenario, you will need to use the appropriate Roblox API functions to check if the player has purchased a game pass. If so, you will need to grant them access to exclusive content or features.
Step 8: Check your Game Pass: Before you publish your game pass, test it out. You can do this by clicking the Play button in Roblox Studio to launch the game.
Test the game pass by purchasing it with a test account and verifying that exclusive content or features are unlocked.
Step 9: Publish your Game Pass: Once you are satisfied with your game pass, you can publish it on the Roblox website. To do this, go to the Game Pass menu in Roblox Studio and click the Publish button.
Why Create GamePass on Roblox?
Creating a Game Pass in Roblox is a great way to monetize your game and provide players with additional content or features. By following the steps in this article, you will be able to create and sell passes in Roblox Studio.
Setting up GamePass on Roblox
The Game Pass can be purchased using Robux, Roblox’s virtual currency.
Go to the ” Associated Items ” page and click on the game pass you want to put up for sale with LMB.
Go to the ” Sales ” section, switch the ” Item for Sale ” checkbox to the active state, specify the pass price taking into account the 30% commission and click ” Save Changes “.
Done! Now you can use it in the game PLS Donate or connect it to the game using a script in Roblox Studio.
Important: If you create a new Badge, make passes in it and want to sell them, you will need to deactivate the old Badge. To do this, open the old badge by left-clicking on it, go to the ” Basic Settings ” tab, and set the ” Item is Active ” flag to inactive.
Apologies for missing that! Here’s an updated version with the keyword included:
GamePass on Roblox unlocks exclusive features and perks, enhancing your gaming experience. For more gaming tips and tricks, using GamePass can give you an edge with special abilities, skins, and content in your favorite games.