<script async src="https://pagead2.googlesyndication.com/pagead/js/adsbygoogle.js?client=ca-pub-1045103186530197"
crossorigin="anonymous"></script>

Allocate more RAM to Minecraft on your PC. Even if you run Minecraft on a server, you can still play the game with more RAM. There is a trick that allows Minecraft to be assigned more RAM, which often leads to better performance. This is done via a Java option in the Minecraft launcher. You can read exactly where the option is in this practical tip.
Minecraft is one of the most popular games of this generation and is available for pretty much every platform, from PC to Mac and even iOS and Android. It runs really well on most devices, but it could still be better – especially if you have a PC with a lot of RAM to take advantage of. While allocating more RAM in Minecraft used to be quite complicated, that’s changing with the release of the third-party Launcher.
How to Allocate RAM to Minecraft?
The open-world game Minecraft runs on your computer using Java software and is allocated the necessary amount of RAM via Java. Now you can start Minecraft and enjoy fewer crashes and problems due to more RAM.
- Open the Windows Control Panel via the Start menu. Type “Java” in the search field at the top right and then click on the search result.
- The Java menu will now open and you can assign more RAM to Minecraft. To do this, click on “Java” at the top and then on “show”.
- Now you can change the runtime parameters of Java. The amount of RAM you can allocate for Java and therefore for Minecraft depends on the type of operating system you have.
- If you have a 32-bit Windows, enter: “-Xincgc -Xmx768M” in the parameters. If you have a 64-bit operating system, use the entry: “-Xincgc -Xmx1536M”. Save the new settings and close the Java menu again.

How to Allocate more RAM to Minecraft on a Server?
If the game crashes frequently or runs too slowly, you can of course allocate more RAM to Minecraft. If Minecraft is hosted on a server, the process for adjusting RAM is a little different, but still not too complicated:
- Open your Minecraft server directory (the folder that contains the Minecraft_server.exe file that you use to start the Minecraft server). If you don’t know where this folder is, search for “Minecraft_server” on your PC
- Click Home > New Object > Text Document on the PC to create a text document in the server directory
- Insert in the new text document (if on the PC): java -Xmx####M -Xms####M -exe Minecraft_Server.exe -o truePAUSE
- Replace #### with the value in MB you want to allocate (1 GB = 1024 MB). For example, if you want to allocate 2 GB of RAM, enter 2048
- Click File > Save As… and change the file type to All Files. Give it a file server name and change the extension from .txt to .bat
- The file you created will now be the new launcher for your Minecraft server – just double click it to run it. When the server uses the bat file to start, it will automatically allocate the specified amount of RAM.
Use the Minecraft Launcher to Allocate RAM to Minecraft
As an avid Minecraft player, you naturally want to play the game without any glitches. If you are experiencing frequent problems while using Minecraft, it may be because Minecraft is not able to use enough RAM. Therefore, to allocate more RAM to Minecraft, you should consider the following steps:
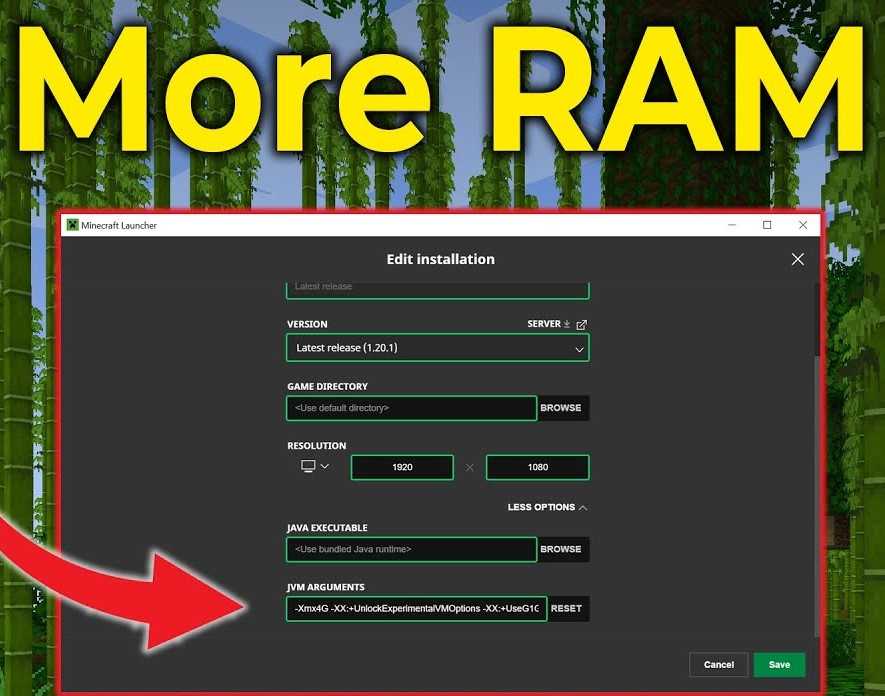
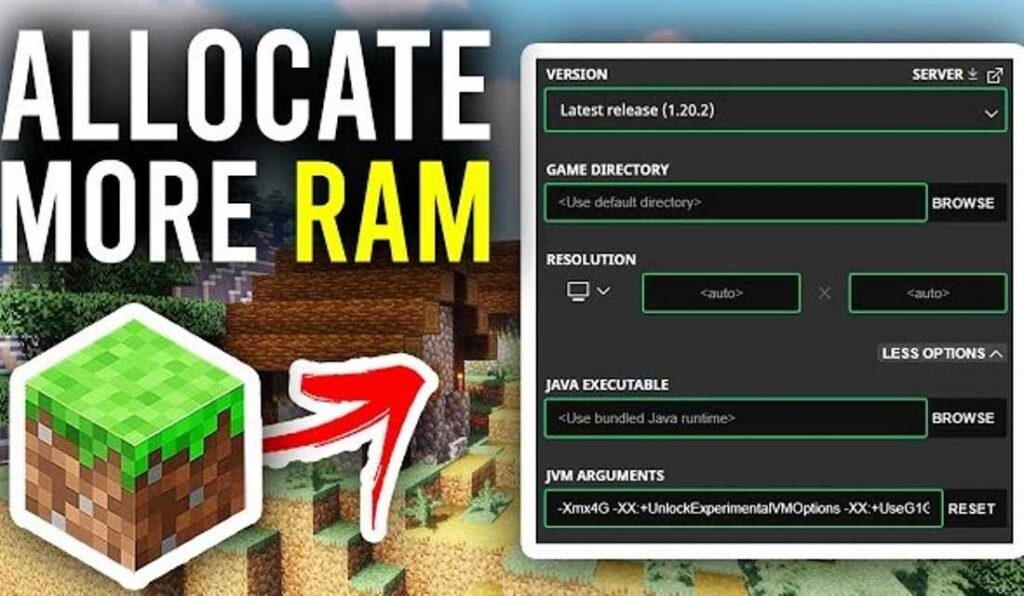
If you have the Minecraft launcher installed, you can use it to give Minecraft more memory.
To do this, first start the launcher and switch to the “Profile Editor” tab.
Then click on your profile and select “Edit Profile”.
Check the box next to “JVM Arguments”, enter the command “-Xmx[RAM to allocate]” in the adjacent text field and replace the placeholder “RAM to allocate” with the new size of the RAM.
Allocate more RAM to Minecraft via System Settings
If you have Minecraft installed on Windows 10 , you can also allocate more memory to the game using the advanced system settings.
To do this, navigate to “System and Security” > “System” in the control panel and select the “Advanced system settings” option.
Then click on the “Environment variables” button and create a new variable with the name and value “_JAVA_OPTIONS”.
Repeat these steps in the “System variables” area and save all changes made by clicking “OK” and “Apply”.
Allocating more RAM to Minecraft can improve performance, especially for larger worlds and modded gameplay. For better gameplay, try adjusting the allocated RAM through the Minecraft Launcher settings—this is one of the essential gaming tips and tricks to reduce lag and ensure smoother performance.


